

The space underneath the stairs can be transformed into a storage area, a home office, a reading nook, a pet area or even a powder room. Many homeowners treat the room underneath stairs as unused or awkward space, but the right solution depends on personal taste and preferences. From a practical point of view, it depends on the available height, depth, accessibility, and location within your home. The cost can range anywhere around $200 to over $5,000. Most under-stair projects, from simple DIY shelving installations to custom built-ins, fall within this range depending on their complexity.
Many homeowners overlook the room underneath stairs due to its irregular dimensions. They often make it a dumping ground for shoes, boxes, seasonal decorations, and miscellaneous clutter.
From an expert interior designer view point, they see the space as an opportunity rather than a limitation. Whatever your goal may be, from creating a functional workspace, or incorporating a design feature, you can convert the space into something practical and visually appealing. This guide walks you through the process step by step.
How to Transform Under-Stair Space Step by Step
To successfully succeed in the project, start with planning rather than random construction. Before purchasing materials or choosing a design, it’s important to understand the physical limitations and possibilities of the space.
Step 1: Assess Structural Elements
Before making any modifications, determine exactly what is behind those walls beneath the staircase.
Many homeowners assume the area is empty, however staircases are often filled with structural framing, electrical wiring, plumbing lines, HVAC ducts, or support posts. Without proper evaluation, removing or changing any of these could cause hazardous and costly problems.
Begin by determining if any section of the staircase functions as a load-bearing component. If you plan on removing walls, or making significant alterations to the area, contact a contractor or structural engineer before continuing.
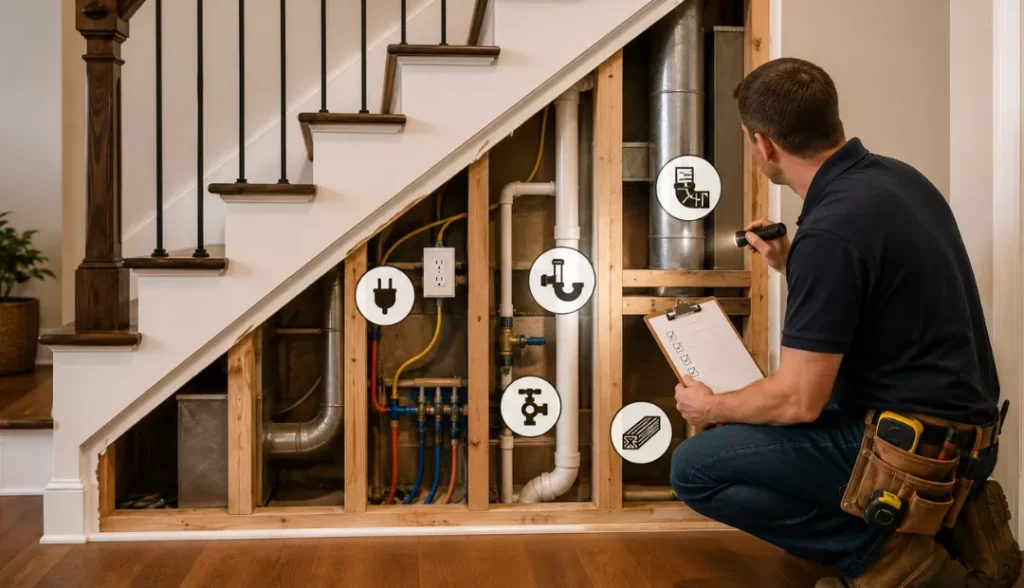
You should also check for:
- Electrical outlets and wiring
- Plumbing pipes
- HVAC ductwork
- Water shutoff valves
- Structural posts or beams
If the staircase sits near a bathroom, kitchen, or laundry room, hidden plumbing is particularly common.
Taking time to understand these conditions prevents costly surprises once construction begins.
Step 2: Choose Your Function
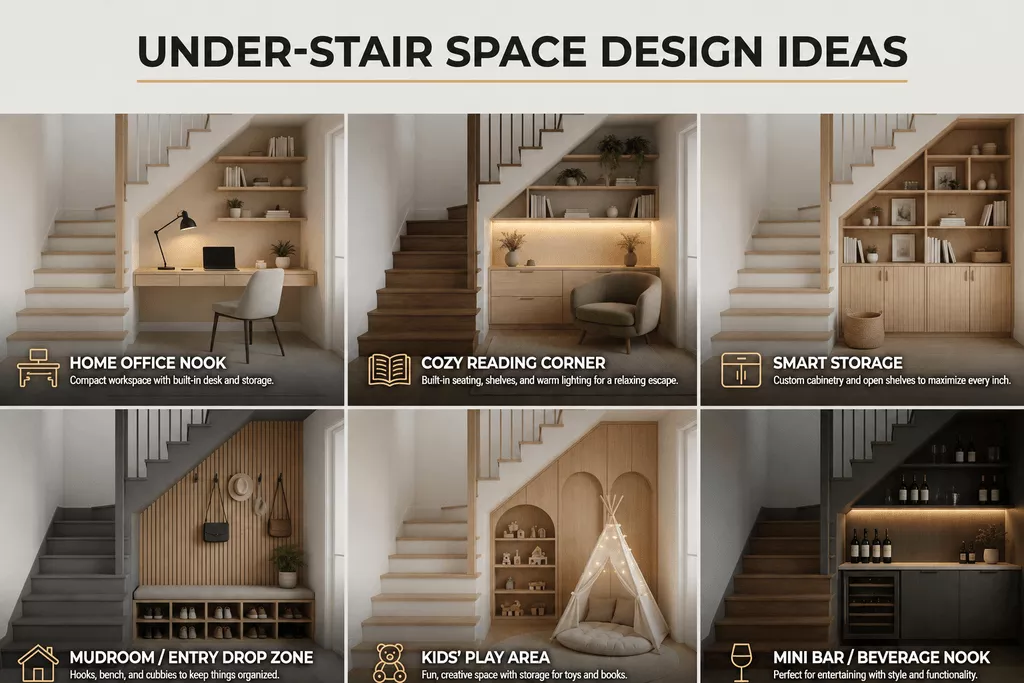
Instead of selecting an idea because it looks attractive online, focus on what your household needs most. The dimensions of the space will often guide the decision.
Typically, shallow spaces serve best as shelving displays or storage displays. Medium-depth spaces accommodate drawers, cabinets, benches, and reading nooks. Larger under-stair areas may support a home office, walk-in storage closet, wine room, or powder room. The location of the space also matters, a staircase near the front entrance naturally lends itself to shoe storage area or mudroom storage.
If one is adjacent to the kitchen then turn into a pantry extension. Staircases places in living rooms often work well as reading corners, display walls, or compact workstations.
If you’re considering a powder room, ensure the entry area provides adequate headroom.
Step 3: Plan and Sketch the Layout
Once decided on the function, now plan in detail the materials which need purchasing. Measure the width, depth, and height of the available space. Pay special attention to the angle of the staircase because it directly affects usable square footage.
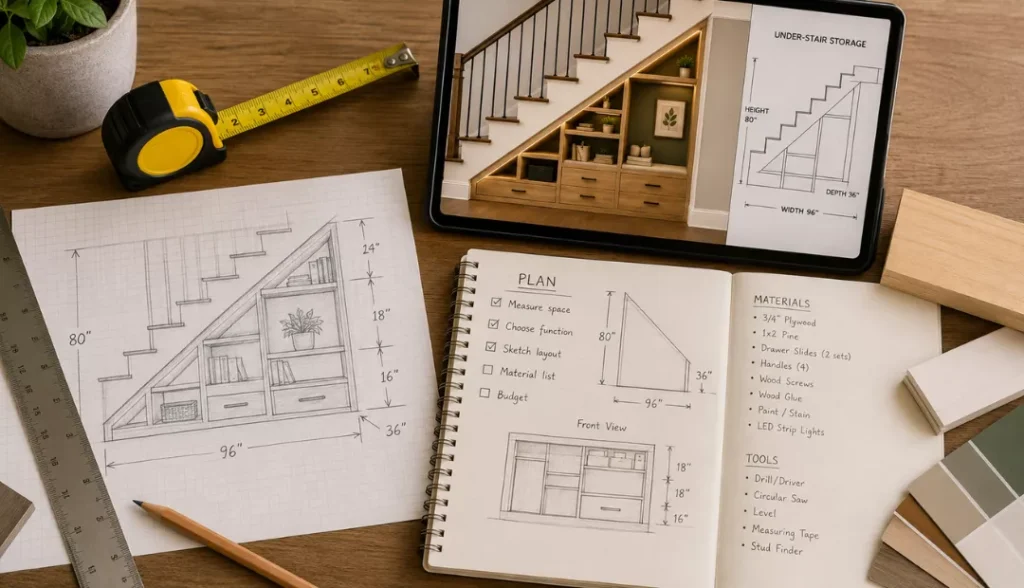
A simple sketch on graph paper often works well for smaller projects. For more complex renovations, design software can help visualize dimensions and avoid costly mistakes.
The more detailed your plan, the smoother the installation process will be.
Step 4: Gather Materials and Tools
The materials required depend on the project’s complexity.
Simple shelving installations typically require only basic woodworking tools and construction materials. More advanced projects may involve plumbing, electrical work, or enclosed rooms where specialized equipment and professional expertise are needed.
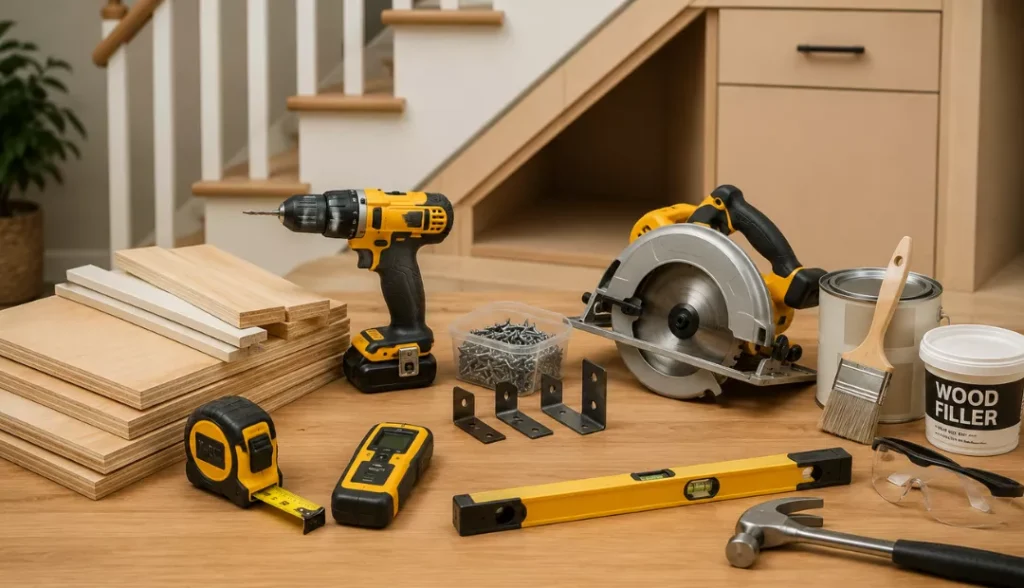
For most DIY under-stair projects, common materials include plywood, screws, brackets, trim boards, paint, and wood filler.
Typical tools include:
- Measuring tape
- Drill and driver
- Circular saw or miter saw
- Stud finder
- Level
- Hammer
- Safety glasses
Step 5: Build or Install
Construction can begin once measurements, plans, and materials are finalized.
For beginners, simple projects usually provide the best balance, open shelving, storage benches, and accent walls often require only basic carpentry skills while delivering noticeable improvements.
Built-in storage remains one of the most popular transformations because it maximizes every inch of available space. Custom cabinets can follow the staircase’s angle, creating storage solutions that standard furniture cannot match.
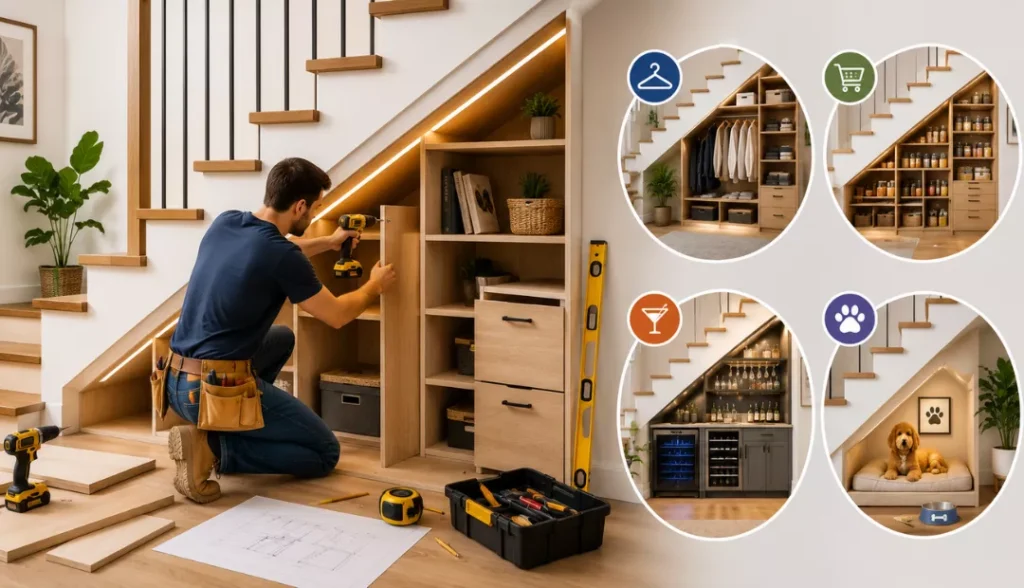
More advanced projects may involve:
- Walk-in closets
- Pantry systems
- Beverage stations
- Pet retreats
Some projects like wet bars, or fully integrated home offices need electrical wiring, lighting fixtures or plumbing components.
Establishing a complete materials list before construction helps reduce delays and unnecessary trips to the hardware store.
Step 6: Add Lighting and Finishing Touches
As these places often lack natural light, proper illumination improves the overall appearance of the place. The right lighting often transforms an under-stair project from merely functional to truly exceptional.
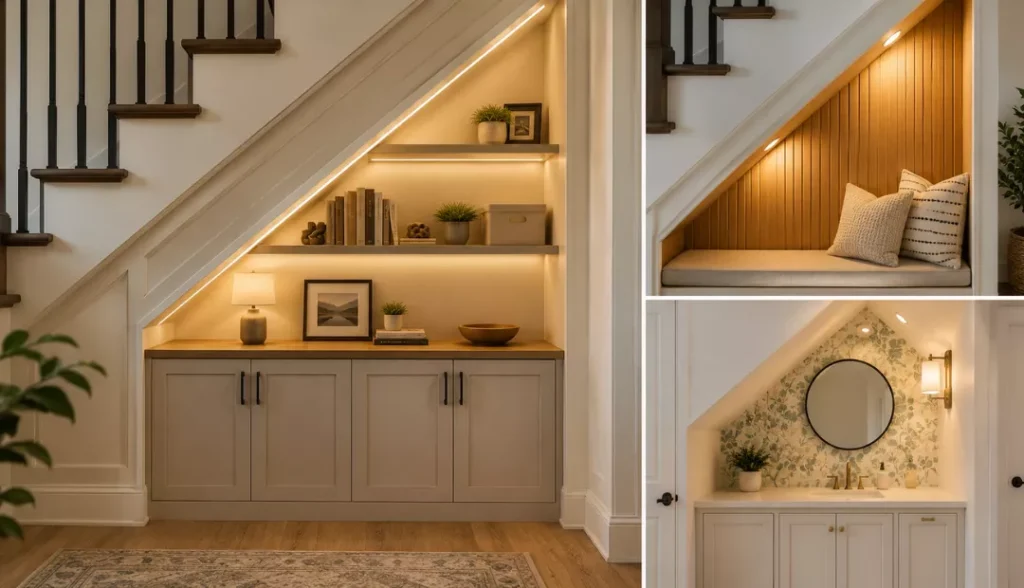
Once lighting is installed, focus on finishing details that integrate the space with the rest of the home.
Popular finishing options include painted paneling, decorative wallpaper, wood slat walls, beadboard, and custom millwork.
Final Thoughts
The room underneath stairs represents some of the most underutilized square footage in many homes. With thoughtful planning, accurate measurements, and a clear understanding of your household’s needs, it can become a highly functional extension of your living space.
Explore more:
- Entryway Decor Ideas to Elevate Your Home Entrance
- How Can a Focal Point Transform Your Room
- How to Choose Laminate Thickness for Vertical Surfaces

Navdeep is a PHP programmer by profession, & rider by passion with a strong interest in writing, reflection, and travel. His writing draws from daily experiences across online and real-world settings, often influenced by an interest in interior design and how spaces affect mood and function.